Every tractor restoration starts the same way: someone stands in front of a rusted old machine, kicks a flat tyre and says, “Ag, how hard can it be?” Two years, a few hundred hours and one or two “while we’re at it” decisions later, they find out.
This guide is meant to save you from the worst of the surprises. It covers what a vintage tractor restoration really costs in South Africa, the step-by-step order the experienced restorers in SAVTEC’s clubs follow, and how to beat rust, the enemy of every old machine. It also covers finding parts, choosing oil, and why the best restorations are almost never solo projects.
Quick answer: how much does it cost to restore a tractor?
For a common 1950s or 1960s tractor in South Africa, budget roughly R8,000 to R35,000 for a cosmetic refresh and R35,000 to R120,000 to get a tired machine mechanically sound. A full nut-and-bolt restoration costs about R60,000 to R190,000 in parts if you do the work yourself, or R130,000 to R380,000 at a workshop. Add 20 to 30% for surprises, because there are always surprises.
Key takeaways
- Assess before you buy. A cracked block or seized engine can double the budget.
- Pick a popular model for your first project. Parts support matters more than anything else.
- Photograph everything, then bag and tag it. Reassembly is where restorations stall.
- Choose your rust removal method carefully. The wrong one can destroy thin tin work and erase casting numbers.
- Don’t restore to make money. It rarely pays, so do it for the love of the machine.
- Join a club. Shared tools, knowledge and spares save more money than any supplier discount.
In this guide
- The honest assessment before you start
- The best tractors to restore for beginners
- Tractor restoration cost: the full budget
- How to restore a tractor, step by step
- How to clean old machinery
- How to remove rust from old farm equipment
- Primer, paint and finishing
- The best oil for older engines
- Finding parts and scrap yards in South Africa
- Rust protection after restoration
- Why restoration is a community effort
- Frequently asked questions
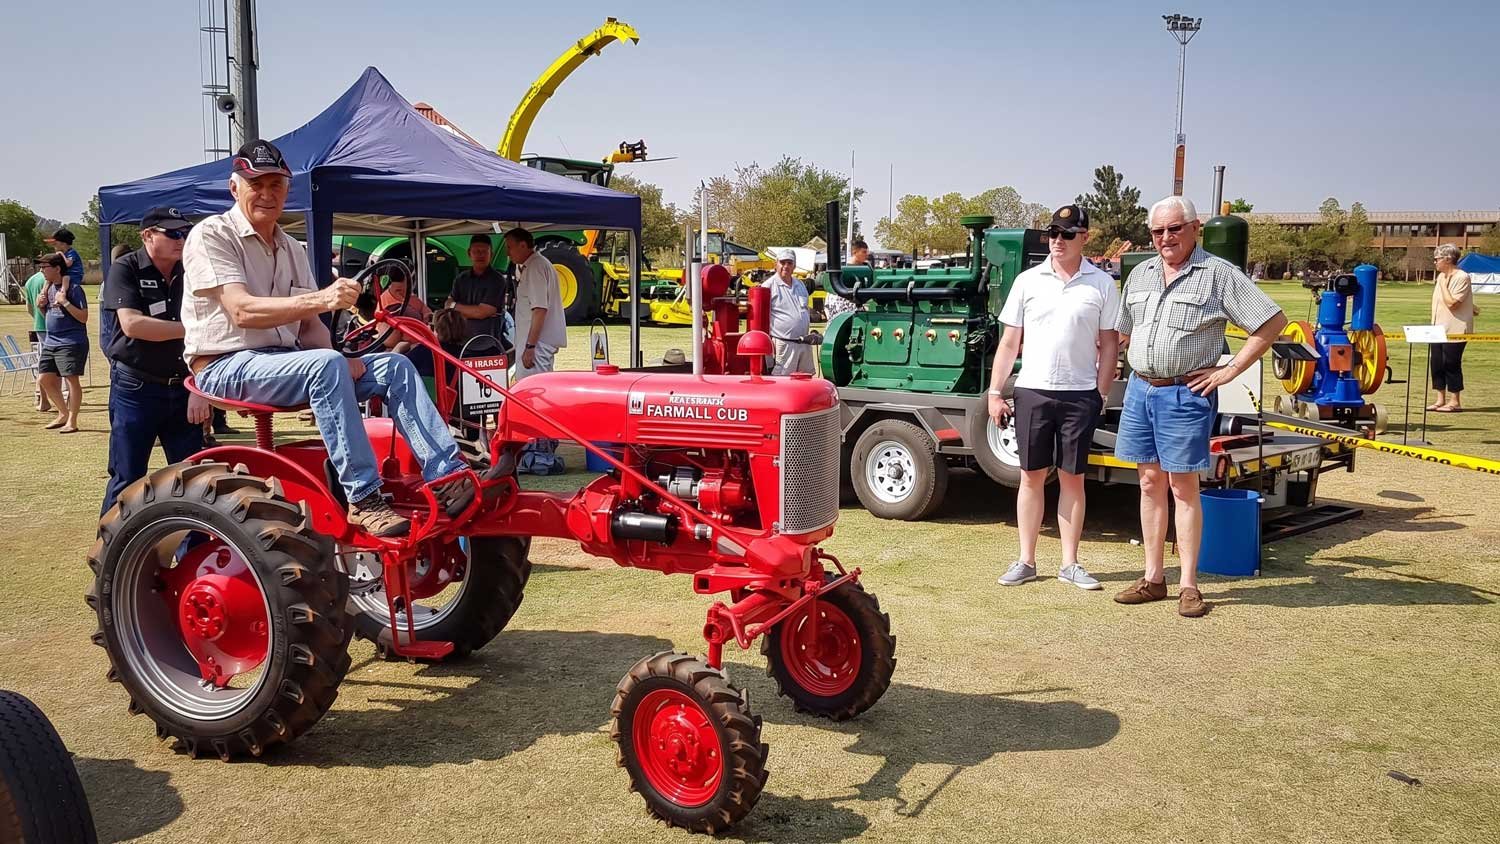
Before you spend a cent: the honest assessment
The cheapest restoration is the one you didn’t overpay for. Spend an hour with this checklist before money changes hands, or before you strip a tractor you already own. Bring a torch, a magnet, a compression tester if you have one, and a friend who isn’t in love with the machine.
| Check | What to look for | Red flag and what it costs you |
|---|---|---|
| Engine turns over | Turn the crank by hand. It should rotate smoothly | Seized: could be stuck rings, or something far worse. Budget for a full engine rebuild |
| Cracked block or head | Weld repairs, white crusty stains, water in the oil | Frost and dry-running cracks are common. Stitching, sleeving or a replacement block costs serious money |
| Oil condition | Milky oil means water in the engine. Metal flakes mean bearing damage | Head gasket at best, cracked block or worn bearings at worst |
| Gearbox and clutch | Grinding, jumping out of gear, slipping clutch | Split the tractor to repair it: labour-heavy |
| Hydraulics | Does the linkage lift and hold a load? | Pump or seal work, usually manageable on popular models |
| Tin work | Rust-through on the bonnet, mudguards and fuel tank | Patching is cheap. Replacing rare panels can be impossible |
| Tyres and rims | Cracked sidewalls, rusted-out rim centres | A pair of rear tyres alone can cost R10,000 to R20,000 |
| Originality | Correct engine and parts for the model and year | “Bitsas” are cheaper to buy but worth less when finished |
| Serial number | Readable, and matches any paperwork | No number means hard parts identification and doubtful provenance |
Restorer’s rule of thumb: Pay for completeness, not for shine. A complete, ugly tractor is a far better project than a shiny one with missing panels, because a can of paint is cheap and a rare grille is not. Our antique farm equipment value guide explains how buyers grade condition, so you can tell whether the asking price is fair.
The best tractors to restore for your first project
Your first restoration should teach you skills without breaking your spirit. That means choosing a model with strong parts support, plenty of manuals and lots of owners to ask. These are proven favourites in South Africa:
| Model | Why it’s a good starter | Parts support | Watch out for |
|---|---|---|---|
| Ferguson TE20 (“Vaaljapie”) | Simple, light, and the world’s best-documented classic tractor | Excellent, with reproduction parts widely available | Petrol, TVO and diesel versions differ, so identify yours first |
| Massey Ferguson 35 / 35X | Tough Perkins diesel (on the 35X), still used on farms | Very good | Many have been worked hard, so check the hydraulics and gearbox |
| Massey Ferguson 135 | Strong, plentiful, a bridge to more modern tractors | Very good | Less “vintage” appeal at shows |
| Fordson Major and Super Major | Rugged, honest, popular with collectors | Good | Heavy components, so you need lifting gear |
| David Brown 880 / 990 | Well engineered and has a loyal following | Fair to good | Some model-specific parts are scarcer |
| Farmall and early John Deere | Huge character and strong collector appeal | Fair, often imported | Shipping costs and times for parts |
The Grey Fergie is the classic South African starter for good reason. If you are curious about why it became such an icon, read our story on the Vaaljapie and how the Ferguson TE20 shaped South African farming. Steer clear of rare pre-war machines and orphan makes for your first go. Save those for when you know your way around a magneto.
Tractor restoration cost: the full South African budget
Here is the line-by-line view. The “DIY” column covers parts and materials only. The “Workshop” column includes typical labour. These are indicative 2026 ranges for a common 1950s to 1960s tractor, put together from supplier prices and the experience of club restorers. Rare makes cost more, often much more.
| Item | DIY (parts and materials) | Workshop (incl. labour) | Notes |
|---|---|---|---|
| Engine overhaul kit (pistons, liners, rings, bearings, gaskets) | R12,000 to R30,000 | R35,000 to R80,000 | Diesel kits cost more than petrol kits |
| Machining (rebore or resleeve, crank grind, valve seats) | R5,000 to R20,000 | R5,000 to R20,000 | Usually done by a machine shop, even for DIY builds |
| Fuel system (carburettor kit, or diesel pump and injectors) | R1,500 to R18,000 | R3,000 to R20,000 | Diesel pump overhauls sit at the top of the range |
| Cooling (radiator recore, water pump, hoses) | R3,000 to R10,000 | R6,000 to R15,000 | |
| Clutch and gearbox (plates, bearings, seals) | R4,000 to R15,000 | R12,000 to R35,000 | Splitting the tractor is the labour-heavy part |
| Hydraulics (pump seals, lift cylinder, valves) | R3,000 to R12,000 | R8,000 to R25,000 | |
| Brakes and steering | R2,000 to R8,000 | R5,000 to R15,000 | |
| Electrics (loom, dynamo or alternator, lights, battery) | R3,000 to R9,000 | R6,000 to R15,000 | Check positive or negative earth before buying parts |
| Rear tyres and tubes (pair) | R10,000 to R20,000 | R10,000 to R20,000 + fitting | Size and ply rating change the price a lot |
| Front tyres (pair) | R2,500 to R6,000 | R2,500 to R6,000 + fitting | |
| Tin work and panel repair | R2,000 to R10,000 | R8,000 to R30,000 | Rare panels may have to be made by hand |
| Rust removal and blasting | R1,000 to R5,000 | R6,000 to R20,000 | See the methods compared below |
| Primer, paint and decals | R4,000 to R12,000 | R20,000 to R60,000 | 2K paint systems cost more but last longer |
| Seat, gauges, badges and small parts | R3,000 to R15,000 | R3,000 to R15,000 | The “small stuff” adds up fast |
| Total (full restoration) | About R60,000 to R190,000 | About R130,000 to R380,000 | Plus a 20 to 30% contingency |
Three levels of restoration, three budgets
| Level | What it involves | Typical budget | Time |
|---|---|---|---|
| 1. Cosmetic refresh | Clean, service, fix leaks, touch-up paint, tyres if needed | R8,000 to R35,000 | 2 to 8 weekends |
| 2. Mechanical restoration | Engine, clutch, hydraulics and brakes made reliable; the paint stays tidy-ish | R35,000 to R120,000 | 3 to 9 months part-time |
| 3. Full nut-and-bolt | Every part stripped, repaired or replaced, then repainted to show standard | R60,000 to R380,000 | 1 to 3 years part-time (300 to 600+ hours) |
Beware “while we’re at it”. Restorers joke that a project costs double and takes twice as long as planned, and the cause is almost always scope creep. “While the engine’s out, we may as well do the clutch…” Write down your level, your budget and your contingency, and pin it to the workshop wall.
Is it worth it financially? Usually not, if you are restoring to sell. A full workshop restoration of a common model can cost more than the finished tractor will fetch. See our guide on what vintage tractors actually sell for in South Africa. Restore because you love the machine, and the sums start to make sense.
How to restore a tractor: the step-by-step process
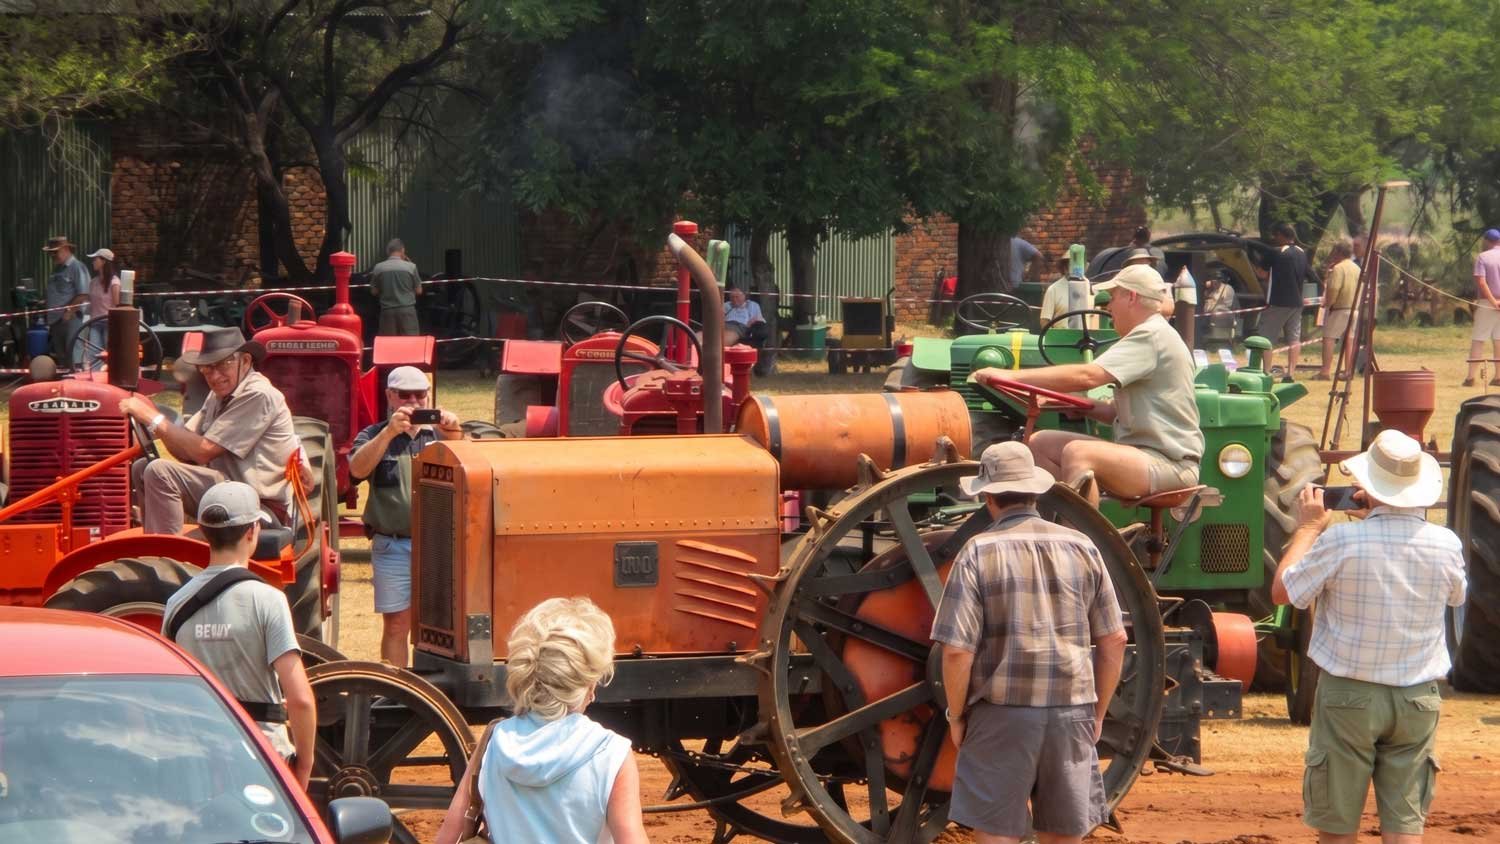
Experienced restorers follow roughly the same order. Doing things in the wrong sequence, like painting before the mechanicals are sorted, means doing them twice.
Step 1: Document everything
Take hundreds of photos from every angle, especially of wiring, linkages, pipe routes and decal positions. Record serial numbers. Start a notebook or a phone folder. This will feel excessive, and you will be grateful for it in eighteen months’ time.
Step 2: Strip, bag and tag
Dismantle in logical sections: tin work, electrics, fuel, engine, then drivetrain. Put the fasteners from each component in labelled bags or tins. Photograph each part next to its label. Restorations stall at reassembly far more often than at dismantling.
Step 3: Degrease and clean
Decades of oil and dirt hide cracks and damage. Clean before you assess and before you order parts. See how to clean old machinery below.
Step 4: Rebuild the engine
Measure the bores, crank journals and valve guides against the manual’s specifications. Worn bores can often be rebored or resleeved rather than replaced, which we cover in detail in our guide to reboring and resleeving cast-iron blocks. If the original engine is beyond saving, some owners fit a later engine. That hurts originality, but it can keep a working tractor alive, as our story about the WK-40 that got a Perkins L4 diesel shows.
Step 5: Sort the fuel and cooling systems
Clean or replace the fuel tank (old tanks are full of rust and varnish), then rebuild the carburettor or overhaul the diesel pump and injectors. Flush the cooling system and pressure-test or recore the radiator. Overheating kills freshly rebuilt engines.
Step 6: Clutch, gearbox and hydraulics
If the tractor needs splitting, this is when to do it. Replace the clutch plate, release bearing and seals while it’s apart. Overhaul the hydraulic pump and lift cylinder, and replace the O-rings and seals. A tractor that won’t lift an implement isn’t really restored.
Step 7: Brakes, steering and front axle
Reline or replace the brakes, check the king pins and bushes, and set the steering play. These are safety items, so don’t skimp.
Step 8: Electrics
Most old looms are brittle and dangerous. Fit a new loom made to the original pattern. Many older British tractors were positive earth and some ran on 6 volts, so check yours before connecting a modern battery or fitting an alternator.
Step 9: Rust treatment and tin work
Remove the rust, repair or replace the panels, and make sure everything fits before painting. See the rust removal methods below.
Step 10: Prime and paint
Paint the chassis and components separately, then the tin work. Patience here shows for decades.
Step 11: Tyres, decals and details
Fit tyres with the correct tread pattern, apply decals in their original positions (your step 1 photos help here), and fit the badges, gauges and seat.
Step 12: Reassemble, test and run in
Reassemble methodically and torque everything to specification. Run the engine in gently, check for leaks and retighten the head if your manual calls for it. Then test it under load. Ploughing at a club day is the best test there is.
| Stage | Typical DIY time |
|---|---|
| Documenting and stripping | 20 to 40 hours |
| Cleaning and assessment | 15 to 30 hours |
| Engine rebuild | 40 to 100 hours |
| Drivetrain and hydraulics | 30 to 80 hours |
| Electrics | 10 to 25 hours |
| Rust removal and tin work | 40 to 120 hours |
| Paint | 40 to 100 hours |
| Reassembly and testing | 40 to 80 hours |
How to clean old machinery without damaging it
Cleaning is the unglamorous step that makes everything after it easier. Work from gentle to aggressive, and stop as soon as the job is done.
| Method | Best for | Pros | Cons |
|---|---|---|---|
| Scraper, brush and degreaser | Caked grease on engines and gearboxes | Cheap, safe for castings and numbers | Slow and messy |
| Hot-water pressure washer | Whole tractors and large parts | Fast and effective with degreaser | Forces water into bearings and electrics, so mask them first |
| Parts-washer tank (solvent) | Small mechanical parts | Thorough and reusable | Solvent disposal, and you need ventilation |
| Caustic hot tank (machine shop) | Engine blocks and heads | Gets into the waterways | Attacks aluminium, so this is for cast iron and steel only |
| Steam cleaning | Engines and chassis | Lifts grease without harsh chemicals | Equipment cost, or you have to hire it |
Dispose of oily water and solvents responsibly. Don’t wash them into drains or the veld. Your local scrap metal or oil recycler can usually take used oil.
How to remove rust from old farm equipment
Rust is why most old tractors end up behind sheds instead of in shows. The good news: almost all of it can be beaten. The trick is matching the method to the part.
| Method | Best for | Cost | Watch out for |
|---|---|---|---|
| Wire brush and flap disc (angle grinder) | Heavy surface rust on thick castings and chassis | Low | Removes good metal and erases casting numbers. Never use it on thin tin work or maker’s marks |
| Abrasive blasting (grit or garnet) | Wheels, chassis, large steel parts | Medium (often outsourced) | Can warp thin panels. Use safe media, not silica sand |
| Soda or glass-bead blasting | Thin tin work, delicate parts | Medium | Slower on heavy rust |
| Electrolysis (washing soda bath) | Small to medium parts, rusted-together assemblies | Very low | Slow (hours to days). Produces hydrogen, so ventilate |
| Chemical rust removers and acid dips | Fuel tanks, small parts, intricate shapes | Low to medium | Rinse and neutralise thoroughly, or rust returns fast |
| Rust converter (tannic or phosphoric acid) | Hard-to-reach areas you can’t clean to bare metal | Low | Converts rust rather than removing it. Not a substitute for proper prep on show parts |
Safety first: Never blast with silica sand. The US workplace safety regulator OSHA warns in its abrasive blasting fact sheet that crystalline silica sand can cause silicosis, lung cancer and breathing problems. Old tractor paint may also contain lead. Wear a proper respirator, work outdoors or with extraction, and keep children and animals away.
How to set up electrolysis rust removal at home
Electrolysis is a favourite among restorers because it removes rust without removing good metal, and it’s cheap. In outline:
- Fill a plastic container with water and dissolve some washing soda (sodium carbonate) in it. Note that this is not baking soda.
- Hang a piece of scrap mild steel in the bath as the sacrificial anode. Never use stainless steel, because it releases harmful chromium compounds.
- Connect a battery charger: the positive (red) lead goes to the sacrificial steel and the negative (black) lead goes to the rusty part. Make sure the two never touch.
- Switch on and wait. Bubbles mean it’s working. Small parts take a few hours and heavy rust can take a day or two.
- Remove the part, scrub off the black residue, dry it immediately and oil or prime it before flash rust appears.
The process gives off hydrogen gas, so work in a well-ventilated space away from sparks and flames. Family Handyman’s electrolysis guide has a good illustrated walkthrough. For areas you can’t get back to bare metal, a rust converter chemically turns the remaining rust into a stable layer you can prime over.
Primer, paint and finishing
A great paint job is 80% preparation. Once the metal is clean and dry:
- Prime quickly. Bare steel starts to flash-rust within hours in humid weather. An epoxy or etch primer gives the best adhesion and corrosion protection.
- Fill and flat. Use body filler sparingly on panels, never on castings, then block-sand for straight, ripple-free tin work.
- Choose the topcoat. Single-stage enamel is traditional and easy to touch up. 2K (two-pack) paint is tougher and glossier but needs proper protective equipment, because it contains isocyanates.
- Get the colour right. Factory shades varied over the years. Club members and marque clubs, such as The Ferguson Club for Fergies, can point you to correct colour references.
- Let it cure. Resist reassembling too soon. Fresh paint marks easily.
What is the best oil for older engines?
Few topics start a longer argument at a club braai. Here is the balanced view:
- Follow the manual’s grade first. Many vintage engines were designed for straight-grade oils such as SAE 30. A rebuilt engine is often happy on a quality modern oil of a suitable viscosity.
- Be careful switching an old, unrebuilt engine to detergent oil. If it has run on non-detergent oil for decades, detergent oil can loosen sludge that then blocks oil passages. Drain, flush and clean the sump first, or wait until the rebuild.
- Flat-tappet camshafts and zinc. Older engines with flat-tappet cams rely on anti-wear additives such as zinc dialkyldithiophosphate (ZDDP), which modern oil specifications have reduced. Many restorers use a high-zinc classic or diesel oil, especially when running in a new camshaft. Some oil testers argue modern oils are fine, so ask your engine rebuilder.
- Gearbox oil matters too. Some modern GL-5 gear oils can attack the bronze or brass parts in older gearboxes. Check what your transmission needs. Many tractors share one oil between the gearbox and hydraulics.
Finding parts and scrap yards in South Africa
Parts hunting is half the fun, and half the frustration. Most restorers use a mix of these sources:
| Source | Best for | Tips |
|---|---|---|
| Club members and SAVTEC networks | Rare parts, advice, swaps | Members often have spares or know who does. Ask before you buy new |
| Tractor scrap and salvage yards | Castings, wheels, tin work, gearbox parts | Phone ahead with part numbers and photos. Rural yards and old dealer sites are goldmines |
| Online parts stockists | Service parts, gaskets, overhaul kits, tyres | Sparex South Africa and similar suppliers carry parts for popular classic tractors |
| Farm clearance auctions | Whole parts tractors, implements, tools | Buying a complete parts tractor is often cheaper than the bits |
| Swap meets at shows | Literature, small parts, tools | Bring a list, measurements and cash |
| Machine shops and engineers | Remanufacturing worn or obsolete parts | Reboring, sleeving, bushing, and making parts from a sample |
| International specialists | Model-specific reproduction parts | Allow for shipping costs, customs duty and delays |
Scrap yard etiquette: Take your own tools, gloves and photos of the part you need. Measure everything twice, because parts often changed partway through production. And be friendly: the yard owner who remembers you is the one who phones when the right tractor comes in.
Rust protection for farm machinery after restoration
You’ve just spent months beating the rust. Here’s how to stop it coming back:
| Do this | Why it matters |
|---|---|
| Store it under cover on concrete, not on soil | Ground moisture is the biggest cause of rust from below |
| Keep air moving in the shed | Condensation forms on cold metal in still, humid air |
| Wipe bare metal with oil or a protective spray | Linkages, PTO shafts and pins are bare steel and rust quickly |
| Wash off mud and fertiliser after shows or work | Fertiliser and wet soil are extremely corrosive |
| Touch up chips straight away | A small chip becomes a bubble under the paint within a season |
| Run it regularly | Keeps seals supple, fuel fresh and internal parts oiled |
| Use a breathable cover, not plastic sheeting | Plastic traps moisture against the paint |
Why tractor restoration is a community effort
Very few great restorations are done alone, and there are good reasons for that:
- Knowledge: Somebody in the club has already solved your problem, often on the same model.
- Tools and equipment: Engine cranes, splitting stands, blasting cabinets and specialist pullers are expensive to buy for a single job, but easy to borrow.
- Spares: Clubs are informal parts libraries. Your missing bracket may be sitting in a member’s shed.
- Motivation: A deadline like a national show, plus friends asking “how’s the Fergie coming along?”, finishes projects.
- Passing on skills: Older members teach younger ones skills that would otherwise vanish.
SAVTEC even runs an Engine Restoration Challenge (EERC) that turns restoration into a friendly competition. When your project is done, bring it to a vintage tractor and engine show. Browse the National Show 2024 gallery to see the standard others have reached. SAVTEC members also get access to the official judging standards used at shows.
Start your restoration with people who’ve done it before
Whether you’re rescuing Oupa’s Fergie or hunting for your first project, a SAVTEC regional club gives you the knowledge, tools, spares and friendships that make restoration possible, and a lot more fun.
Wondering what your tractor is worth first? Read our antique farm equipment value guide.
Frequently asked questions about tractor restoration
How much does it cost to restore an old tractor in South Africa?
For a common 1950s or 1960s tractor, a cosmetic refresh costs roughly R8,000 to R35,000 and a mechanical restoration R35,000 to R120,000. A full nut-and-bolt restoration costs about R60,000 to R190,000 in parts if you do the work yourself, or R130,000 to R380,000 at a workshop. Add 20 to 30% for contingencies.
How long does it take to restore a tractor?
A cosmetic refresh can take a few weekends. A full restoration typically takes a capable amateur 300 to 600 hours or more, which usually works out at one to three years of part-time work.
What is the best tractor to restore for a beginner?
Choose a popular model with strong parts support, such as the Ferguson TE20, Massey Ferguson 35 or 135, or a Fordson Major. Parts, manuals and expert help are easy to find for these models.
What is the best way to remove rust from old farm equipment?
It depends on the part. Electrolysis is excellent and cheap for small and medium parts. Soda or bead blasting suits thin tin work, and grit blasting suits heavy chassis parts and wheels. Use rust converters only where you can’t reach bare metal. Never use silica sand for blasting.
Is it worth restoring an old tractor?
Financially, restoring to sell rarely pays, because the costs often exceed the finished value. But for heritage, enjoyment, skills and pride, many owners find it priceless. Restore because you love the machine.
Where can I find old tractor parts in South Africa?
Try vintage tractor club members, tractor scrap and salvage yards, online stockists such as Sparex South Africa, farm clearance auctions, swap meets at shows, and machine shops that can remanufacture worn parts.
What oil should I use in an old tractor engine?
Start with the grade in the manual. Rebuilt engines with flat-tappet camshafts often benefit from oil with adequate zinc (ZDDP). Be careful switching a sludged, unrebuilt engine to detergent oil without cleaning it first. Ask your engine rebuilder for advice specific to your engine.
Costs in this guide are indicative 2026 ranges for general information only. They vary with the model, condition, supplier and region. Always get quotes and follow your manual’s specifications and safety instructions.